Chapter 4 of 11 · Verified for Beta Patch 2
Your first fit
The real Seraph grid.
Fitting is a grid puzzle limited by grid space, hardpoints, heat and the build-rating range of the breach you want to enter.
There is no power or CPU budget.
Slot shapes
Every hull has its own grid, and hulls in the same class have similar hardpoints. Your starter 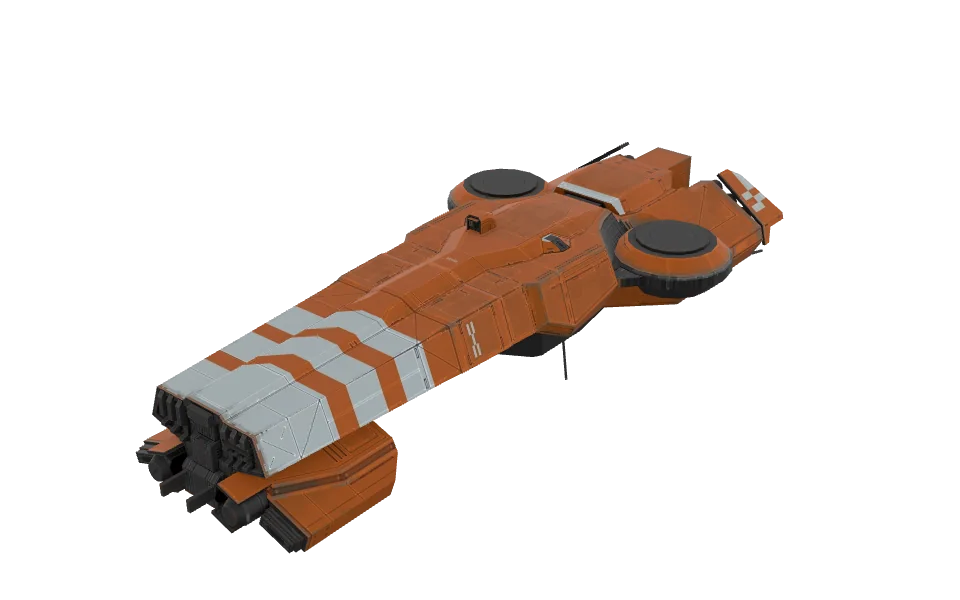 Seraph has hardpoints for 4 battery, 2 subsystem and 4 propulsion modules, plus 17 core slots. Cells come in four kinds:
- Diamond: battery hardpoint. Takes turrets, missile and torpedo launchers, dronelinks, mining lasers and repair projectors.
- Triangle: subsystem. Takes activated modules such as ECM.
- Circle: propulsion.
- No symbol: core. Takes passive modules, conduits and anything else that does not need a hardpoint.
Missiles and torpedoes moved from subsystem to battery hardpoints in Beta Patch 2. Their buttons now sit with the other battery modules on the module bar.
Placing modules
- Identify new modules first (right-click with ORE in your stash); unidentified ones will not equip.
- Fit in the hub: changing a fit needs your ship tethered to a refit terminal.
- Drag a module onto the grid. Modules run from one cell up to six, with 1x2 the most common. Press R to rotate one.
- A shaped module only has to cover one matching hardpoint, not every cell of it; the rest can sit on any free cells.
- Count your battery modules. You cannot fit more than the hull has battery hardpoints, and a
 Mining Laser or a missile launcher uses one just like a turret.
Tip
Avoid mixing turret types. Turrets that rotate at different speeds and have different optimal ranges are harder to keep on one target.
Ports and conduits
Ports are the notches on a module's edges. They turn with the module when you rotate it, and they connect to conduits and ciphers.
A Conduit is a 1x1 core item that gets stronger the more same-type modules plug into it through ports.
- Strength starts at 50% with nothing connected. Figures differ on the top end: 200% with four connections, or 200% with three and 250% with four.
- Conduits follow affinity type the way modules do.
- They do not let you place a weapon anywhere it could not already go.
Heat
Modules and thrusters both generate heat, and managing it is part of the fit. Whether extra heat capacity earns its space depends on the build: it pays off for drone, ECM and shield fits. Some barriers vent heat if you time their activation precisely, a bit like a parry.
Many modules, turrets included, work better while heat sits in the middle (Optimal) zone. At full heat the ship SCRAMs: it shuts down briefly and burns a control rod, 10 ORE to repair.
Build rating
Build rating, shown as BR or PR, adds up:
- the hull
- the fitted modules
- the affinity points you have spent
- 25% of your cargo
A breach only lets in ships inside its BR range.
For modules, BR is a fair guide: bigger modules rate higher and carry bigger bonuses. For hulls it reflects size and material cost more than strength, and small ships can be very good. Do not write off your Seraph on rating alone.
Once a fit works, Share Fit on the fitting screen copies a read-only link to it.